theFERN – latest picture

stucco and roof are on theFERN in Marathon, Texas
Steven Jones sent us the latest picture of his version of theFERN that he’s building in Marathon, Texas. His comment: “I love it!”
Thanks, Steven, we’re looking forward to seeing it completed.

the Lawrence Street House – Rainwater, Part 3

Another area we are looking at to save water is our toilets and clothes washer. These two appliances probably use the most water inside the home as any other. And they are easy “targets” for rainwater use. That’s because they don’t need to use drinking water to be effective. Our thought is to also plumb our home to use some of the rainwater we collect to flush toilets and wash our clothes. 
We will likely have to balance the amount of rainwater we can collect with our irrigation, toilet and clothes washing demands. Our rooftop has the potential to collect far more than we can store practically, but we can’t practically store all we could collect (about 15 to 20,000 gallons), so we’re looking at where to hit that balance. I just received our irrigation estimates and, in our climate, we face the challenge of very wet winter months and pretty dry summer months. So the challenge is to know how many gallons is best overall for storage.
Plus, another challenge we’re facing is our clothes washer. Conventional wisdom (ie LEED points and marketing) says we should get rid of our 28+ year old Maytag washer that uses 40 gallons per load and get a new Energy Star washer that uses 15 to 20 gallons per load. HOWEVER, my question is what happens to our old washer (landfill or reuse?), we only run 2 to 4 loads per week (family of 2) and about half of those are  cold water, if we’re using rainwater for those cold water loads and we’ve never had a problem with our washer in those 28 years (The lonely Maytag repairman ads were right), does it make overall sense to replace our washer? Right now, we’re thinking it doesn’t. So we are probably going to forego that 0.5 point for LEED in lieu of what we feel makes more sense overall. 
I’d be interested in your opinions.

The Lawrence Street House – Rainwater, Part 2

Our primary us for rainwater will be for landscape irrigation. We’re designing our landscape first to need less water to start with. That’s the way it is with good design in anything, reduce is the first “r”.

So we’re being strategic in our plant selection, using the concept of the right plant in the right place. We’re reducing our actual lawn area to just about 100 sq ft. Lawns are the largest irrigated “crop” in the US, and we often use clean, drinking water to do it.
Then, after we reduce, we’re going to reuse (the second “r”) our rainwater that already would have fallen onto the ground where our house will be. The landscaping that needs irrigation will largely be fed by a drip system. Drip irrigation is hugely more efficient than pop-up heads.
We’re also looking at using rainwater for two of the major water-using “appliances” inside our home: our toilets and clothes washer. More on those next time.

The Lawrence Street House – Rainwater, Part 1

In addition to harvesting the solar on our site, we are seriously considering harvesting our rainwater. Eugene gets about 50 inches of rain each year. The rooftop of our main house is about 3,400 sq ft (remember, this includes porches and the garage), and our secondary unit has a roof area of about 1,570 sq ft.

There are several resources you can get online to calculate how many gallons of water this translates into. that’s helpful as we get into our irrigation demand and other things we might want to do with our water.
I’ve talked with the people from RainTech in Jacksonville, Oregon, just over 150 miles from here. Their system (pictured above), is called RainSpace. It’s underground, simple low-tech and just seems elegant to us. Visit their site, watch their installation video and see what we mean.
We’re hoping to use rainwater for all our irrigation and maybe even flush our toilets and wash our clothes with it. I’ll get into a bit more about that tomorrow. Meanwhile, check out RainTech, their green certifications and learn a little more about their company.

The Lawrence Street House – Solar Electric [update]

[added revised pricing on solar hot water system and total cost; even better than I originally thought]

In addition to thinking about our landscape design, finishing the structural plans and selecting some of our finishes (more on those to come), we’ve been looking at our solar configuration(s).

Typically, you’ll do a 2 or 3 KW photovoltaic and a separate hot water system. This maximizes tax credits and utility incentives and generates a lot of electricity and hot water. Photovoltaic systems are still expensive and the cells are getting more efficient, but they’re still relatively inefficient. HOWEVER, they are still worth it in my book.
Hot water systems typically generate a lot of hot water for a relatively low cost. As a point of comparison, a 2 KW equivalent hot water system will cost about $8,000 to $9,000 where a 2 KW stand-alone pv will be in the $13,000 neighborhood. Both of those are before credits and incentives.
But our LEED rater, Eli, has a friend who is an engineering type who had a thought. This, of course can sometimes be dangerous (engineers having thoughts can be kind of like architects having an idea). But the more I’ve considered his thought, the more it makes sense to me.
What he observed is during the summer, a typical solar hot water system will heat a normal 120 gallon solar water tank up to maximum temperature, then shut off. Two “problems” with that. First, 120 gallons is more water than most people use (a typical home has a 52 gallon water heater). Second, when it shuts off, in the time of year when you get the most solar, you are basically throwing away that extra energy by not collecting it. Two very intriguing points.
So his thought is to bag the solar hot water system with its oversized tank, pumps, plumbing, etc and put that money into upsizing your photovoltaic system. So I got some preliminary pricing on upsized pv. A 2.1 KW system is about $13,500 ($1,200 net after credits), a 3.2 KW $20,000 ($4,500 net) and a 4.9 KW system $29,400 ($9,500 net). A hot water system nets out at about $4,200 after credits. So a 3 KW plus hot water system nets at about $8,700 but boosting it up to almost 5 KW (3 KW plus the 2 KW hot water) nets at $9,500. And, during the summer, we can sell the extra back to our utility and build a credit for the winter.
We’re strongly leaning toward the 4.9 KW system. We’ll couple that with a small, 40 gallon high efficiency water heater (like the Rheem Marathon). I have Eli checking to see how much energy we should actually save (which is more important to us than the tax credits) and I’ll report how that pencils out.

theFERN – Marathon, Texas

Here are some pictures of Steven Jones’ progress on theFERN that he’s building in Marathon, Texas.

He is using SIPs panels from EH Systems (http://www.ehssips.com/) and their panels will be featured in the Easter Edition of Extreme Makeover Home Edition on ABC.
I’ll be posting more pictures and following Steven’s progress as he builds theFERN. I’ll also be uploading to our website more pictures and information for you to see.
The beauty of the SIPs is these exterior walls and roof panels were installed in two days.

The Lawrence Street House – LEED for Homes

We have officially registered our home with the US Green Building Council. This is the first step in pursuing LEED (Leadership in Energy and Environmental Design) Certification.

In addition to this registration, we hire a LEED rater — Earth Advantage from P-Town. Our local rater is Eli and he worked with us on theSAGE.
He is starting some preliminary calculations for the building shell (walls, floors, roof insulation and windows) so we can establish a baseline of where we’ll be for energy efficiency.
One concept we’ll be incorporating throughout is the idea that the most efficient heater, the most efficient light, the most efficient (insert item here) is the one you don’t have to use in the first place. This saves on many levels: initial cost (you don’t buy it), operating costs (you don’t use it) and maintenance costs (if it ain’t there, you don’t have to fix it).
I do have to insert here that there are some up front costs associated with some efficiency measures (extra insulation to reduce heating and cooling needs). But in the overall life-cycle cost of a home, only about 10-15% is the initial cost; virtually all of the rest (about 85%) is the operating and maintenance costs: paying for the energy to run the furnace or turn on the lights.
So we will be looking at efficiency measures up front. The house is already designed to take advantage of natural lighting and we’re looking at every other component with these efficiency measures in mind.
As an aside, I think we’re going to love our new neighborhood. Brenda and I went down last week to mow the weeds (trying to be a good neighbor), and met our soon-to-be neighbor, Jim. We had a very pleasant conversation with him and I’m sure we’ll enjoy living on Lawrence.
Stay tuned.

The Lawrence Street House – SDU (finally)

Finally. We have the design for our secondary dwelling unit (aka SDU). It’s amazing how challenging it has been to design a two-bedroom, one bath home in under 800 square feet.

City of Eugene code allows for a second dwelling on the same property if the lot is large enough (it is), if the owner of the property lives in one of the houses (we will) and the second house is no larger than 800 square feet (it comes in at a relatively lean 776 square feet).
Having the mindset of small homes and having done this before with theFERN plan, I thought this would be fairly straightforward. Was I wrong. theFERN is a generous 1,024 sq ft. It’s interesting when you get this small how every inch counts even more.
Our SDU is 250 sq ft SMALLER than theFERN. That’s the equivalent of a room 15 x 16 feet. Pretty large. And we still wanted two bedrooms.
After lots of pushing and pulling, reviews, sketches, redraws, redesign, hair-pulling, we feel we have a really good plan. It blends well with our main house and will have similar details. You can download a larger pdf version of the picture by clicking here.
I’m actually very happy with the way it laid out.
AND, we met with our Landscape Architect yesterday and he’s starting on the site/landscape. I’ll talk more about our design goals and philosophy about the landscape in a future post.

The Lawrence Street House – Refinements Pt 2

We have refined the exterior as well as the floor plan and are now very happy with every aspect of the design. Click here for a larger image of the south elevation.
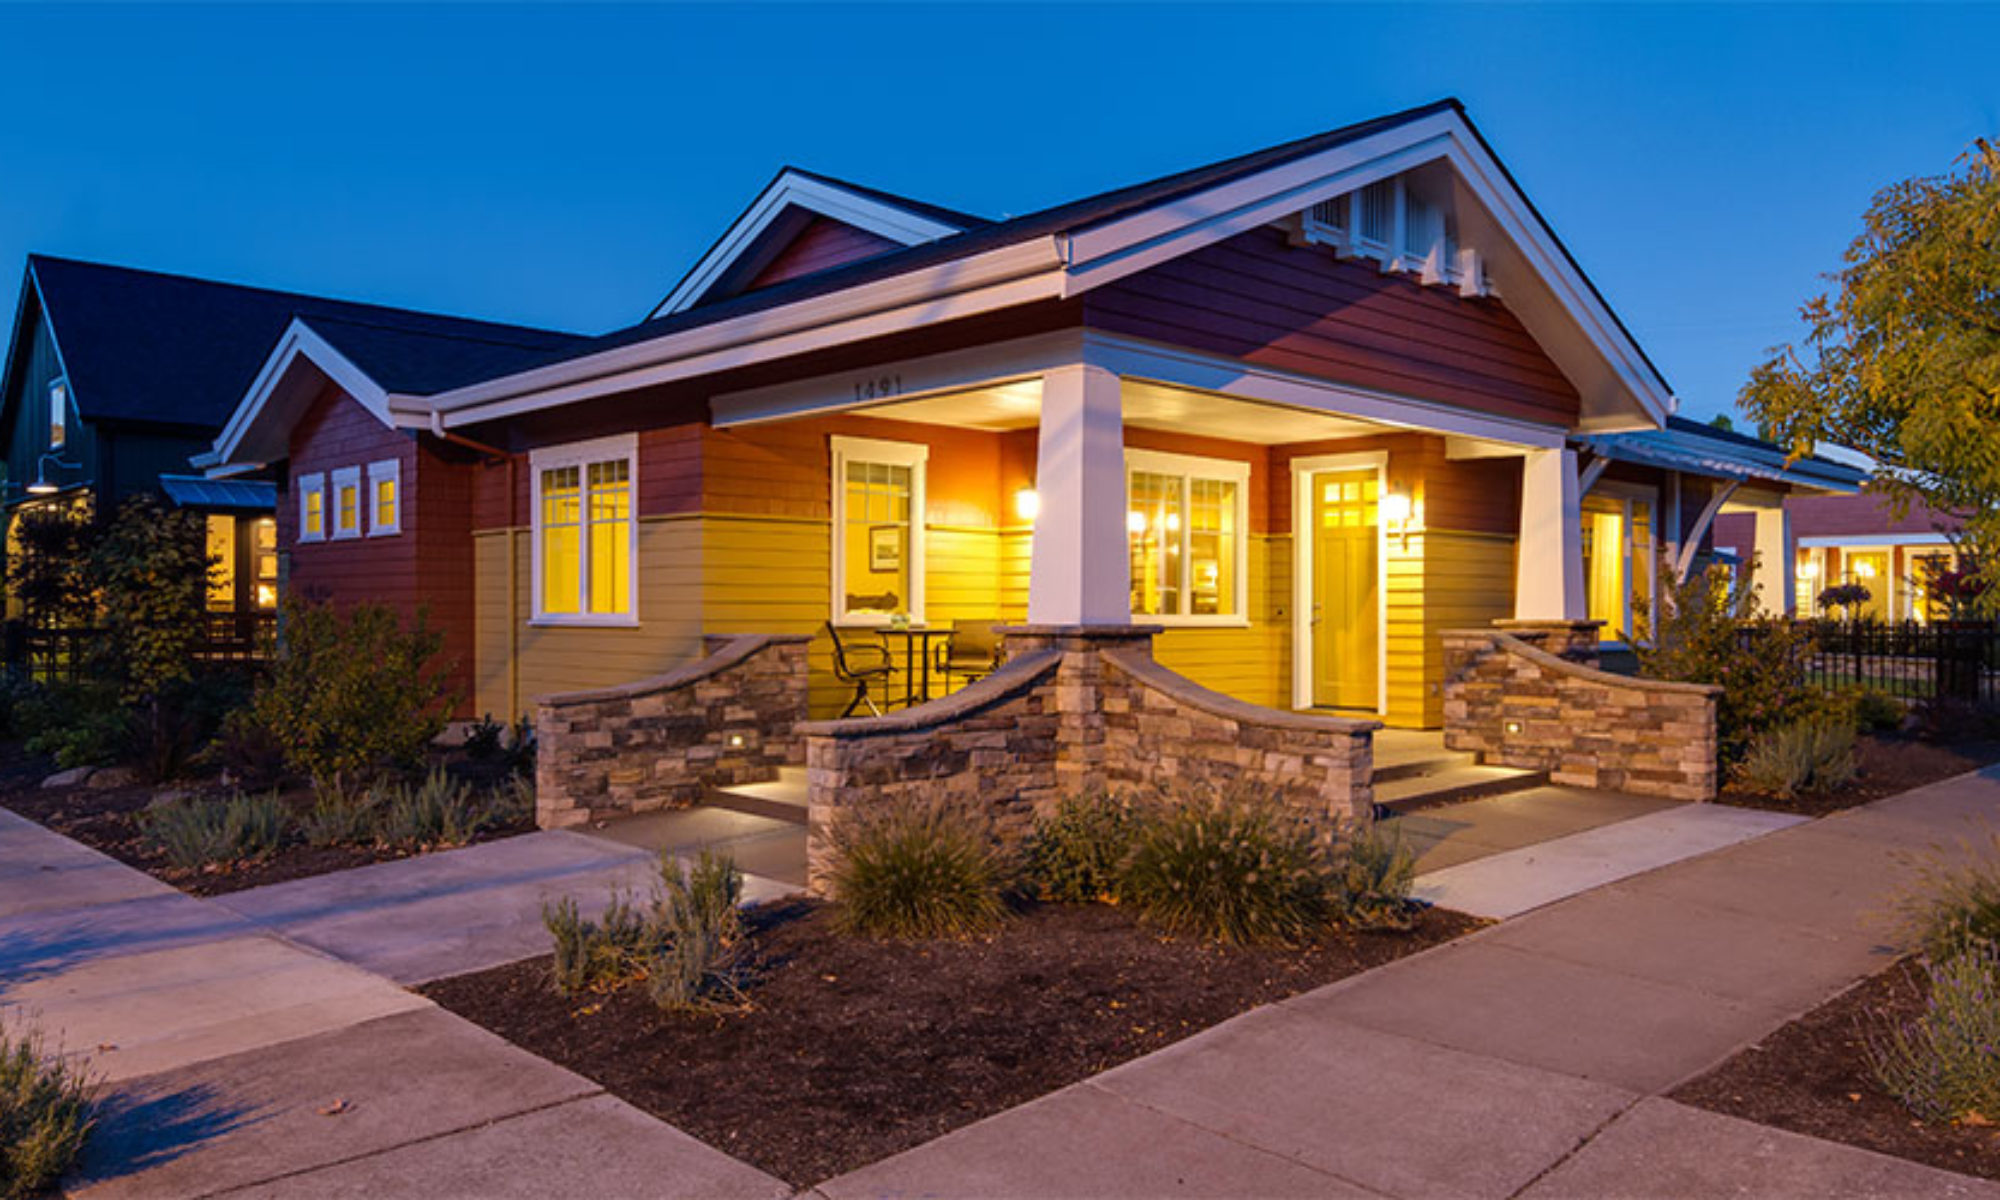
We’ve added arbors over the south windows at the living room and over Brenda’s potting bench area off the garage. The front porch is reminiscent of the Craftsman Bungalow houses from the early 1900s. We want to blend in with the rest of the neighborhood. We also want to capture the front porch concept that is missing in our culture. More on that later; this is something stirring deeply in us.
I’m also meeting in a couple of days with our LEED Rater to get started on our LEED certification. And, I’m now starting on the design for the Secondary Dwelling Unit that will be located along 15th by the alley. More as that progresses, too.
We’re getting more and more excited about our new home!