theFERN – latest picture

stucco and roof are on theFERN in Marathon, Texas
Steven Jones sent us the latest picture of his version of theFERN that he’s building in Marathon, Texas. His comment: “I love it!”
Thanks, Steven, we’re looking forward to seeing it completed.

The Lawrence Street House – Rainwater, Part 1

In addition to harvesting the solar on our site, we are seriously considering harvesting our rainwater. Eugene gets about 50 inches of rain each year. The rooftop of our main house is about 3,400 sq ft (remember, this includes porches and the garage), and our secondary unit has a roof area of about 1,570 sq ft.

There are several resources you can get online to calculate how many gallons of water this translates into. that’s helpful as we get into our irrigation demand and other things we might want to do with our water.
I’ve talked with the people from RainTech in Jacksonville, Oregon, just over 150 miles from here. Their system (pictured above), is called RainSpace. It’s underground, simple low-tech and just seems elegant to us. Visit their site, watch their installation video and see what we mean.
We’re hoping to use rainwater for all our irrigation and maybe even flush our toilets and wash our clothes with it. I’ll get into a bit more about that tomorrow. Meanwhile, check out RainTech, their green certifications and learn a little more about their company.

The Lawrence Street House – Solar Electric [update]

[added revised pricing on solar hot water system and total cost; even better than I originally thought]

In addition to thinking about our landscape design, finishing the structural plans and selecting some of our finishes (more on those to come), we’ve been looking at our solar configuration(s).

Typically, you’ll do a 2 or 3 KW photovoltaic and a separate hot water system. This maximizes tax credits and utility incentives and generates a lot of electricity and hot water. Photovoltaic systems are still expensive and the cells are getting more efficient, but they’re still relatively inefficient. HOWEVER, they are still worth it in my book.
Hot water systems typically generate a lot of hot water for a relatively low cost. As a point of comparison, a 2 KW equivalent hot water system will cost about $8,000 to $9,000 where a 2 KW stand-alone pv will be in the $13,000 neighborhood. Both of those are before credits and incentives.
But our LEED rater, Eli, has a friend who is an engineering type who had a thought. This, of course can sometimes be dangerous (engineers having thoughts can be kind of like architects having an idea). But the more I’ve considered his thought, the more it makes sense to me.
What he observed is during the summer, a typical solar hot water system will heat a normal 120 gallon solar water tank up to maximum temperature, then shut off. Two “problems” with that. First, 120 gallons is more water than most people use (a typical home has a 52 gallon water heater). Second, when it shuts off, in the time of year when you get the most solar, you are basically throwing away that extra energy by not collecting it. Two very intriguing points.
So his thought is to bag the solar hot water system with its oversized tank, pumps, plumbing, etc and put that money into upsizing your photovoltaic system. So I got some preliminary pricing on upsized pv. A 2.1 KW system is about $13,500 ($1,200 net after credits), a 3.2 KW $20,000 ($4,500 net) and a 4.9 KW system $29,400 ($9,500 net). A hot water system nets out at about $4,200 after credits. So a 3 KW plus hot water system nets at about $8,700 but boosting it up to almost 5 KW (3 KW plus the 2 KW hot water) nets at $9,500. And, during the summer, we can sell the extra back to our utility and build a credit for the winter.
We’re strongly leaning toward the 4.9 KW system. We’ll couple that with a small, 40 gallon high efficiency water heater (like the Rheem Marathon). I have Eli checking to see how much energy we should actually save (which is more important to us than the tax credits) and I’ll report how that pencils out.

TV Commercials

I was trying to think of a blog topic that relates to “halving it all” and started to feel like I had exhausted a lot of the topics. Then I thought of TV commercials. And that sent me down an interesting path of thought.

My wife and I some time ago cut our cable TV subscription back to the bare basic minimum. In fact, we would have cut it out completely, but with our internet service, the basic cable TV is almost free, so we kept it. What we discovered some time ago was iTunes and AppleTV. We have found we can buy our TV shows (the few we watch) for less money than the expanded basic cable service. So we did. And while that didn’t “halve” our costs, it did something much deeper.

It eliminated the commercials.

Not only can we watch a one hour show in 42 minutes (yes, a typical one hour show has 18 minutes of commercials), we don’t see the commercials. And while that can sometimes be a conversation blocker in a social setting when someone asks “did you see the new Pepsi commercial?”, it really hasn’t hurt us any. What it HAS done is we now find we want less “stuff”.

We realized in kind of an epiphany yesterday that we are much more content with what we have. We’re not bombarded with the constant 18 minutes per hour of all the stuff we can’t live without. And we’re finding we can live without a lot of it. We don’t need the latest this or that or the new whatever.

And we’re much happier.

theFERN – Marathon, Texas

Here are some pictures of Steven Jones’ progress on theFERN that he’s building in Marathon, Texas.

He is using SIPs panels from EH Systems (http://www.ehssips.com/) and their panels will be featured in the Easter Edition of Extreme Makeover Home Edition on ABC.
I’ll be posting more pictures and following Steven’s progress as he builds theFERN. I’ll also be uploading to our website more pictures and information for you to see.
The beauty of the SIPs is these exterior walls and roof panels were installed in two days.

The Lawrence Street House – LEED for Homes

We have officially registered our home with the US Green Building Council. This is the first step in pursuing LEED (Leadership in Energy and Environmental Design) Certification.

In addition to this registration, we hire a LEED rater — Earth Advantage from P-Town. Our local rater is Eli and he worked with us on theSAGE.
He is starting some preliminary calculations for the building shell (walls, floors, roof insulation and windows) so we can establish a baseline of where we’ll be for energy efficiency.
One concept we’ll be incorporating throughout is the idea that the most efficient heater, the most efficient light, the most efficient (insert item here) is the one you don’t have to use in the first place. This saves on many levels: initial cost (you don’t buy it), operating costs (you don’t use it) and maintenance costs (if it ain’t there, you don’t have to fix it).
I do have to insert here that there are some up front costs associated with some efficiency measures (extra insulation to reduce heating and cooling needs). But in the overall life-cycle cost of a home, only about 10-15% is the initial cost; virtually all of the rest (about 85%) is the operating and maintenance costs: paying for the energy to run the furnace or turn on the lights.
So we will be looking at efficiency measures up front. The house is already designed to take advantage of natural lighting and we’re looking at every other component with these efficiency measures in mind.
As an aside, I think we’re going to love our new neighborhood. Brenda and I went down last week to mow the weeds (trying to be a good neighbor), and met our soon-to-be neighbor, Jim. We had a very pleasant conversation with him and I’m sure we’ll enjoy living on Lawrence.
Stay tuned.

The Lawrence Street House – SDU (finally)

Finally. We have the design for our secondary dwelling unit (aka SDU). It’s amazing how challenging it has been to design a two-bedroom, one bath home in under 800 square feet.

City of Eugene code allows for a second dwelling on the same property if the lot is large enough (it is), if the owner of the property lives in one of the houses (we will) and the second house is no larger than 800 square feet (it comes in at a relatively lean 776 square feet).
Having the mindset of small homes and having done this before with theFERN plan, I thought this would be fairly straightforward. Was I wrong. theFERN is a generous 1,024 sq ft. It’s interesting when you get this small how every inch counts even more.
Our SDU is 250 sq ft SMALLER than theFERN. That’s the equivalent of a room 15 x 16 feet. Pretty large. And we still wanted two bedrooms.
After lots of pushing and pulling, reviews, sketches, redraws, redesign, hair-pulling, we feel we have a really good plan. It blends well with our main house and will have similar details. You can download a larger pdf version of the picture by clicking here.
I’m actually very happy with the way it laid out.
AND, we met with our Landscape Architect yesterday and he’s starting on the site/landscape. I’ll talk more about our design goals and philosophy about the landscape in a future post.

The Lawrence Street House – Refinements Pt 2

We have refined the exterior as well as the floor plan and are now very happy with every aspect of the design. Click here for a larger image of the south elevation.

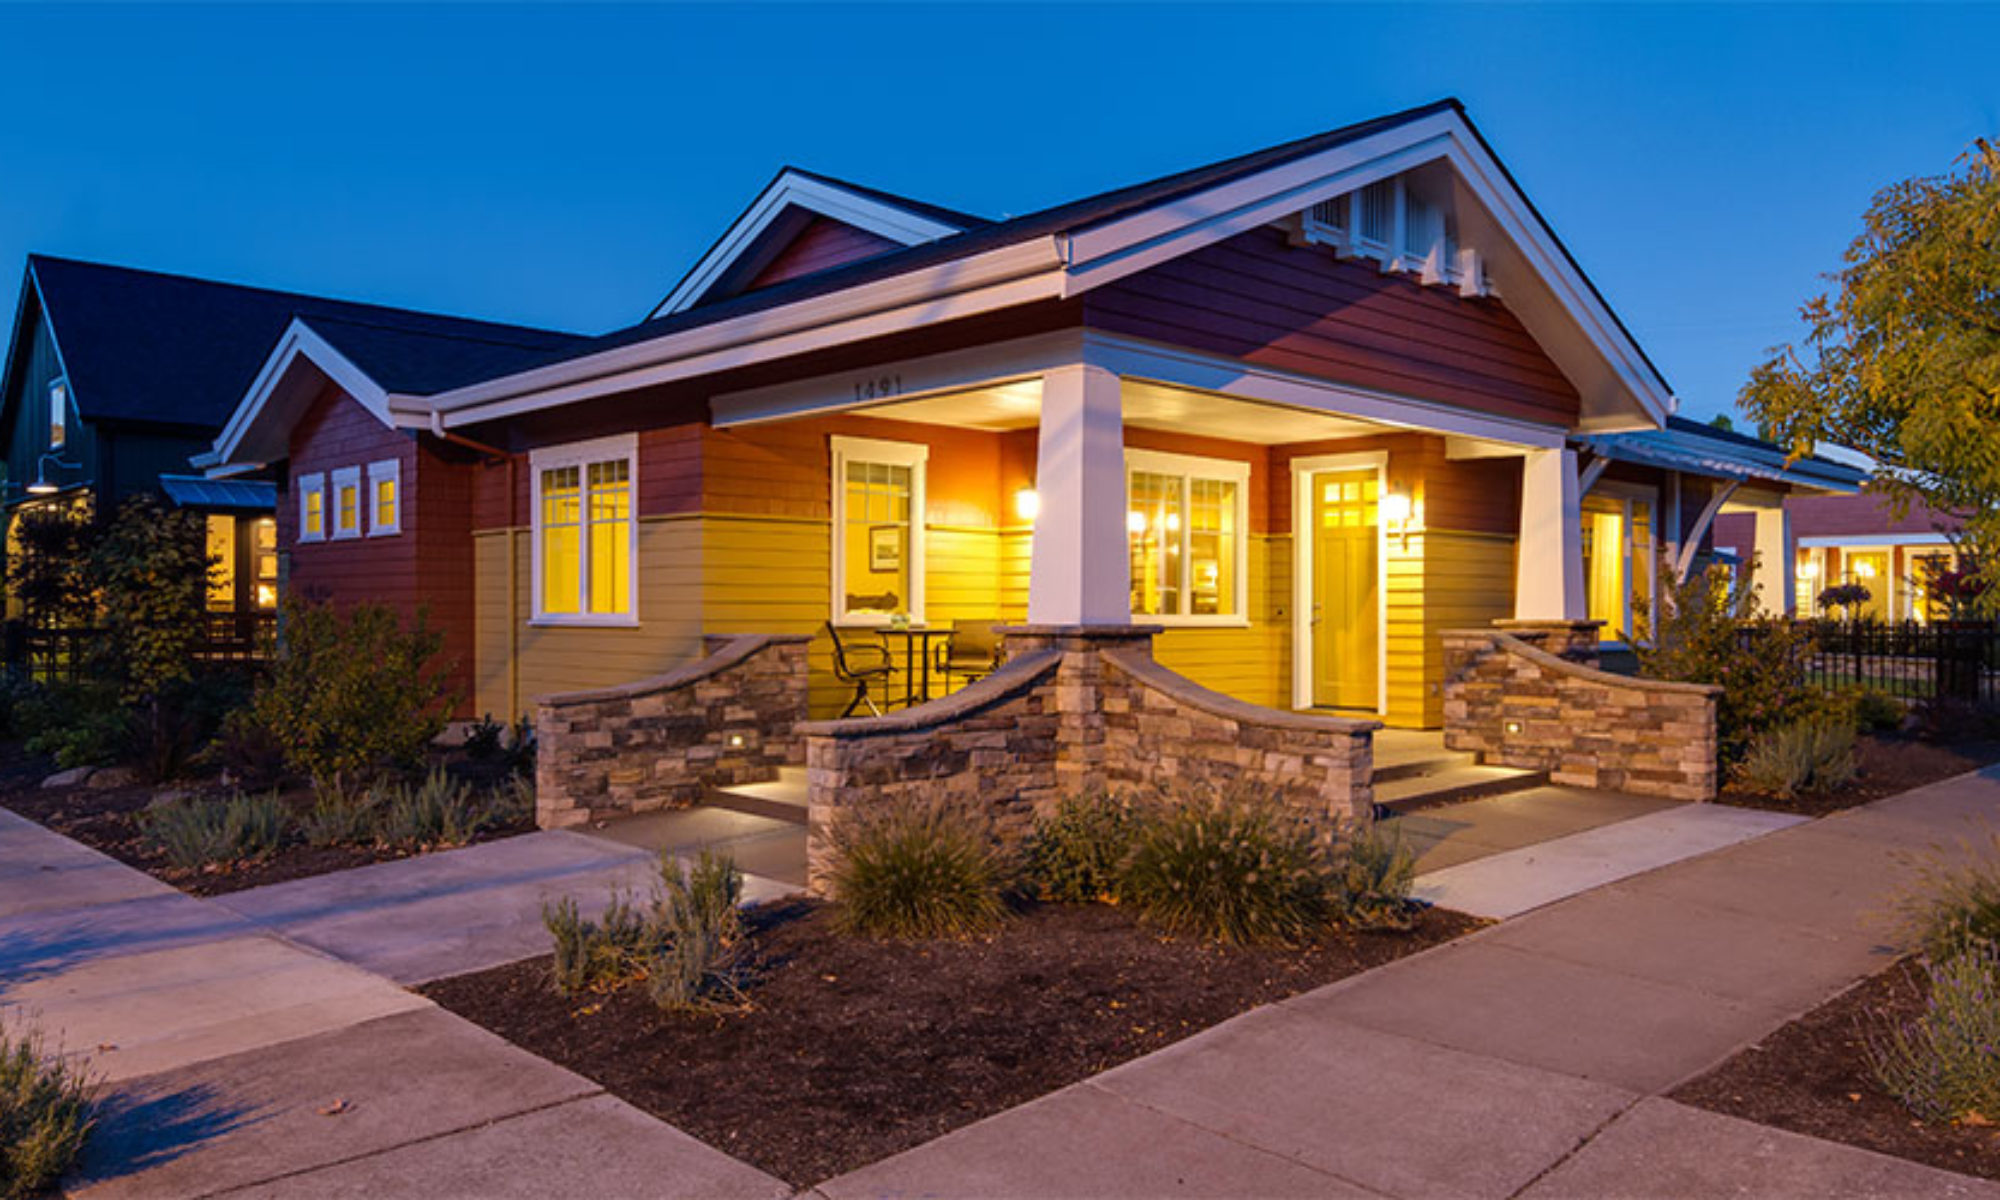
We’ve added arbors over the south windows at the living room and over Brenda’s potting bench area off the garage. The front porch is reminiscent of the Craftsman Bungalow houses from the early 1900s. We want to blend in with the rest of the neighborhood. We also want to capture the front porch concept that is missing in our culture. More on that later; this is something stirring deeply in us.
I’m also meeting in a couple of days with our LEED Rater to get started on our LEED certification. And, I’m now starting on the design for the Secondary Dwelling Unit that will be located along 15th by the alley. More as that progresses, too.
We’re getting more and more excited about our new home!

The Lawrence Street House – Refinements

The design is progressing. We’ve been in the refinement stage of design development, taking the thoughts and ideas that came out of our design charrette and massaging the design.
We’ve been working 3D and in plan together; that’s always a good thing. Many designers start by getting the plan worked out then “forcing” an elevation on it. That’s dangerous and can lead to amazingly mediocre design.
We work in plan and 3D at the same time, going back and forth, thinking about how a change might affect the exterior as well as how the spaces work.
One thing that came out of all this is a relatively major rearranging of our bath/utility core. Primarily this was due to walking out of the Master Bedroom and looking right into the Main Bath and the double doors into the house from the Garage (one in the Utility and one into the Kitchen). We looked at a way to improve both of those layouts and the attached picture shows where we’re ending up.
Utility: is close to the kitchen door, so coming in from working in the yard will be less obtrusive (I think we’ll have a bench in the Garage to remove shoes at least). Nice linen closet and ironing board. We’ve moved the water heater into the ceiling space above the Utility (with a drain pan) which will be insulated and adjacent to the furnace. Nice folding counter over the washer and dryer.
Main Bath: is now even a little more private from the rest of the house. By moving it where we have it, not only do we not come out of the Master Bedroom and look into the Bath, we have a great wall for artwork there and probably will do a shallow recess niche to accentuate that wall.
Master Bath: much better storage (a huge linen), nice window over the toilet and still have our large shower.
Glass Block and Natural Light: we have tried various ideas to get natural light into the interior rooms (Main Bath and Utility). Some of my initial ideas involved translucent ceilings and skylights, but simpler is always better and did prevail. You may notice on the plan small openings at the master shower and the Main Bath tub. These are glass blocks as thru-wall “windows”. The one into the Main Bath tub is a vertical stack of blocks and the one at the shower is a horizontal row just above the counter in the Utility. This will allow borrowed light from the Master Bath to filter into the interior rooms. And, if you’re concerned about privacy, they make glass blocks with filter inserts which allow the light and maintain privacy.
We’re refining the exterior, too and I’ll post that soon.